My Raid Guide to Salvation's Edge: Beating the Witness in 2026
Master Salvation's Edge raid secrets for coveted red border weapons and powerful raid mods with this expert guide. Unlock hidden chests and conquer challenges to dominate the Witness's final stand.
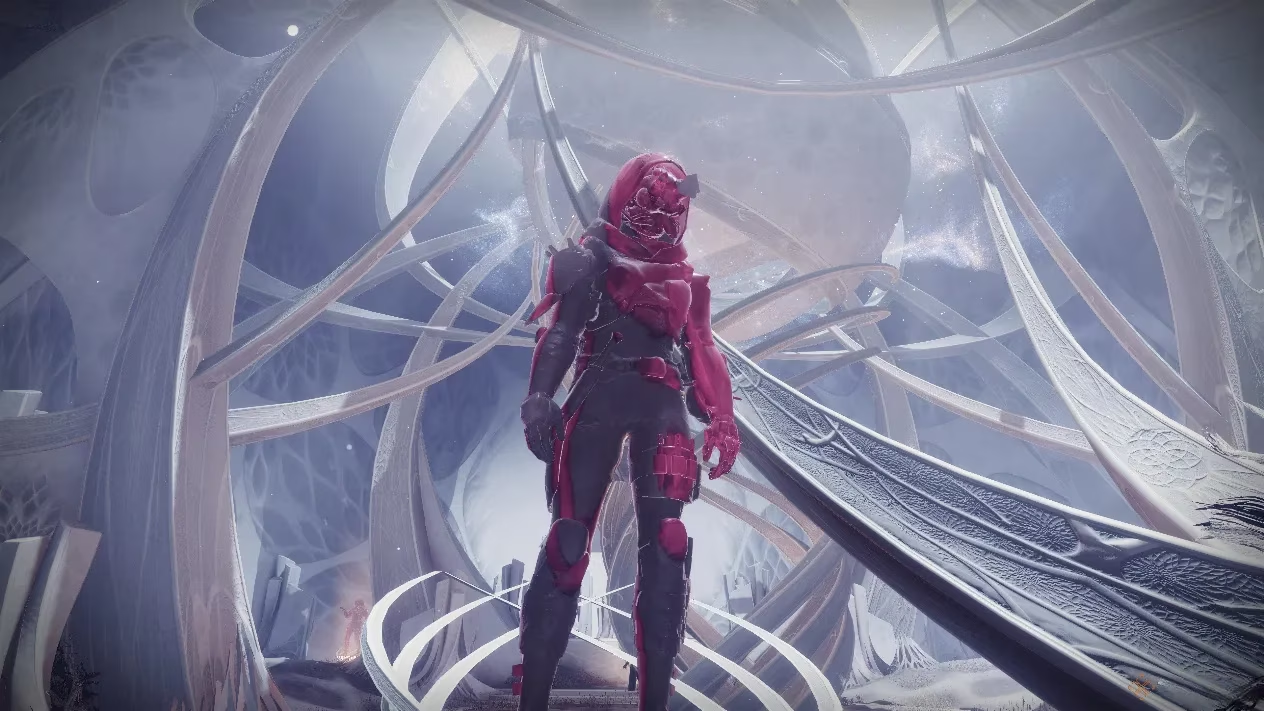
Well, here we are, Guardians. After all these years, the Light and Darkness saga is finally wrapping up, and let me tell you, the Witness has thrown one heck of a goodbye party inside the Traveler's Pale Heart. Salvation's Edge is the main event, the penultimate mission before the final curtain call in Excision. I've run this raid more times than I can count, and let me be your ghostly Sherpa through this mechanic-heavy, loot-filled spectacle. It's a wild ride, and by the end of this, you'll be ready to face the music—or in this case, the Witness's symphony of annihilation.
The Loot You're After: Red Borders & Raid Mods
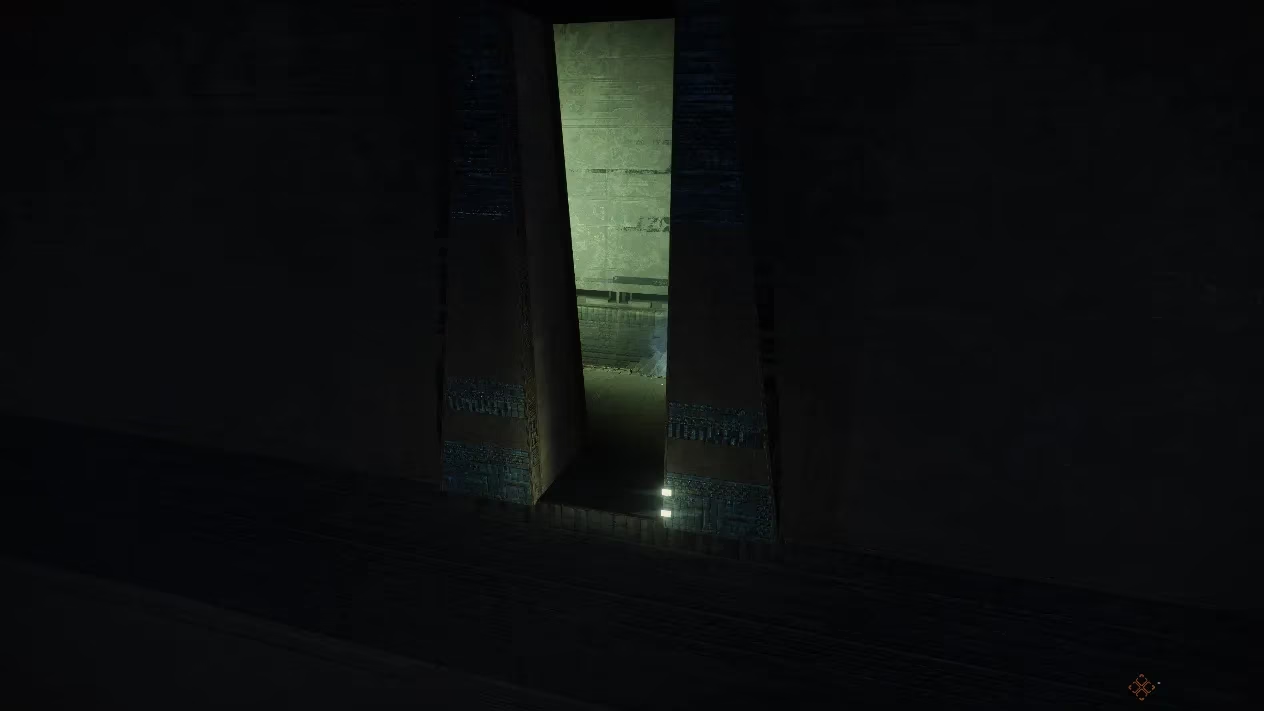
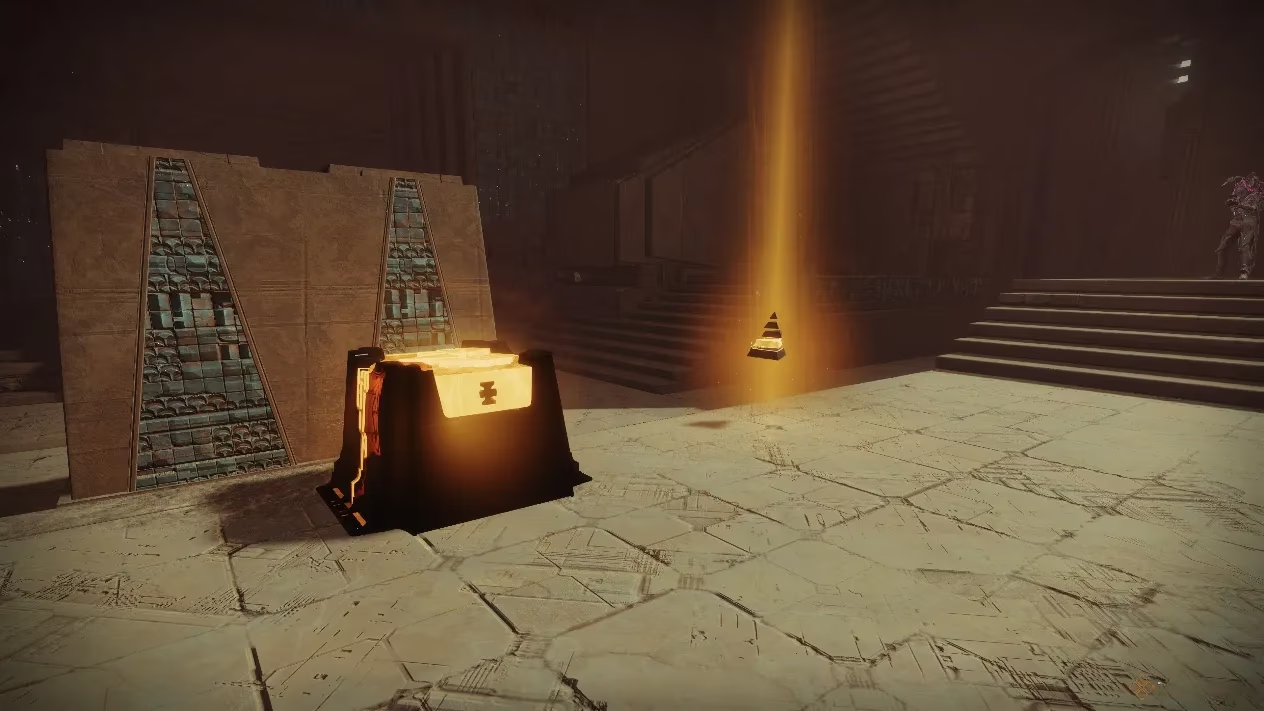
First things first, let's talk about the goodies. Who doesn't love a shiny new red border weapon? To spawn the special red border chest after you kick the Witness to the curb, you gotta complete a series of puzzles during a full, no-skipping run. Think of it as the Witness's final exam. At the very start, when you walk into that spooky monolith, look up the first stairs. See those columns with circle and triangle symbols? Look at the third column. Memorize those symbols. You'll need them to energize hidden conductors later, just like in the third encounter.
There are three hidden rooms you need to find and activate:
-
Puzzle #1: Right after that symbol wall, slide into the next area. Make a sharp right, jump to a staircase, and shimmy under a wall. Easy peasy.
-
Puzzle #2: After the big red gravity lift, climb the slabs on your left. Hop across some floating rectangles, balance on a narrow wall, and take a right U-turn. You'll find it.
-
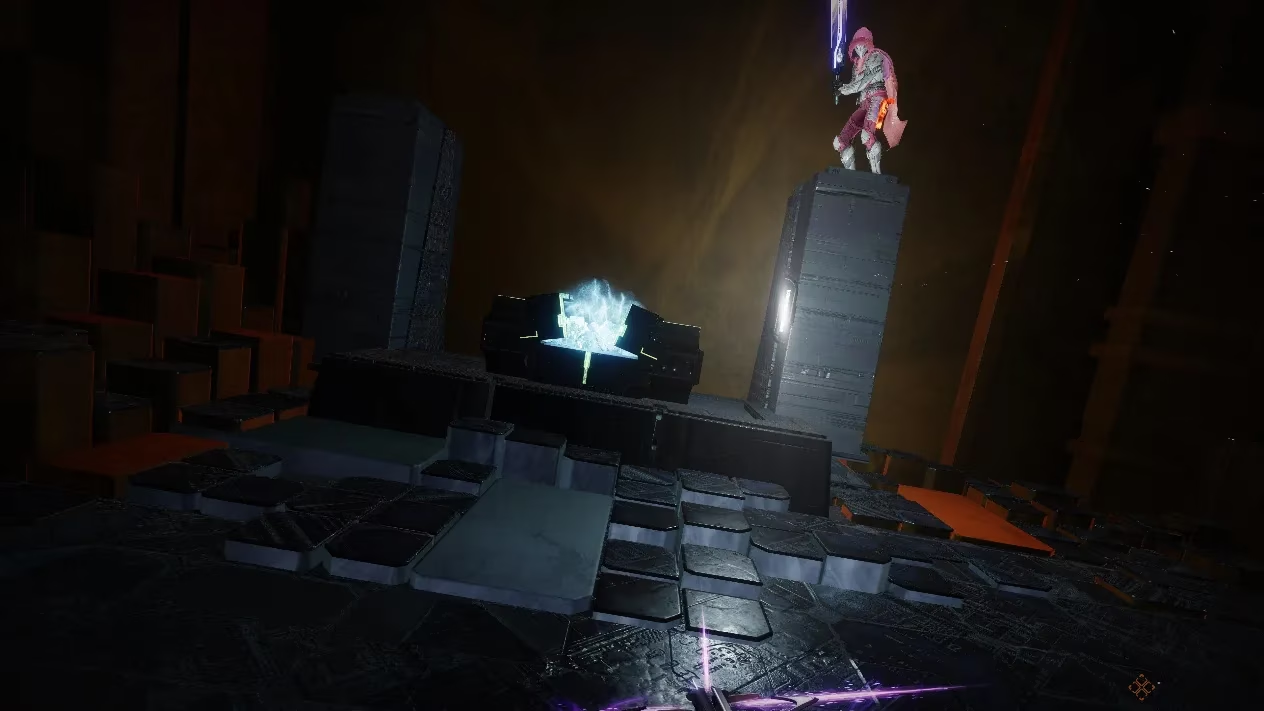
Puzzle #3: After the third encounter, take another red lift. In the next big area with red slabs, jump on top of them until you find the circuit plates.
For each one, you stand on a plate, wait for the signal to hop to the next, grab the correct symbol that spawns, shoot the conductor, and step back on the plate. Do all three, and after you defeat the big bad, a red border chest will be waiting for you. One per week, per account. Don't get greedy!
Now, for the raid mods. These bad boys are locked behind completing all five of the raid's one-off challenges. Yeah, the Witness doesn't make it easy. Here's the rundown:
| Triumph | Challenge | Encounter |
|---|---|---|
| Touch and Go | No one gets an extra Resonance stack before everyone has one. | Substratum |
| Changing Tactics | Charge the conductor with Resonance from alternate wings. | Dissipation |
| Singular Torment | Only one player can kill Tormentors. | Repository |
| Equal Distribution | Don't deposit on the same statue twice in a row. | Verity |
| Careful Calculation | No player can exceed x2 Resonance of any type. | Zenith |
Once your fireteam has those triumphs in the bag, two new hidden conductor rooms unlock. They're in spots similar to the red border puzzles:
-
Before First Encounter: Near the first red border room. When you see a doorframe and a chasm, jump to the left stairs and crouch through a gap. Sneaky.
-
Before Third Encounter: During the monolith climb with the falling slabs, get to the second floor, turn around, and jump to an open room in the inner wall.
Activate both conductors, beat the Witness, and a new mod is yours. No weekly limit on this chest, so farm away!
Hidden Chests: Spoils for the Spoiled
There are also two hidden chests just chilling in the platforming sections. They're not gonna give you new loot, but they always drop five Spoils of Conquest and a random raid item you've already gotten. It's like finding spare change in the couch, but way more valuable.
- Chest #1: In the Monolith jumping section, when you're on the inner wall with amber slabs and Dread enemies, go right instead of forward. Look for a gap in the wall to slide under. The chest is on the other side.
- Chest #2: After the climbing section before the final boss, right after fighting a Scorn Chieftain and a Cabal Colossus. Look left for some gray squares, jump to them, and follow the path.
The Encounters: A Step-by-Step Dance with Doom
Alright, buckle up. Here's the meat and potatoes of Salvation's Edge.
Substratum: The Ping-Pong Starter
Split your team in two. Your goal is to deposit Resonance in a central chest to delay the end of everything—no pressure. Each team explores a wing, kills Hydras to open doors, and takes down an Overload Minotaur to spawn a Tormentor in the middle. Kill the Tormentor to activate conductors.
The core loop is a plate-juggling act. Find an energized plate and a conductor in an adjacent room. One player stands on the plate, sending a signal. The conductor player must stand on their plate the moment the signal arrives. Do this right, and Resonance shards spawn. Grab three shards, no more! The conductor player then shoots their obelisk and steps on their charged plate to lock it. Do this for both sides, kill the Subjugator that spawns, dunk your spare Resonance, and repeat. It's all about timing and communication. Don't drop the ball, or the signal.
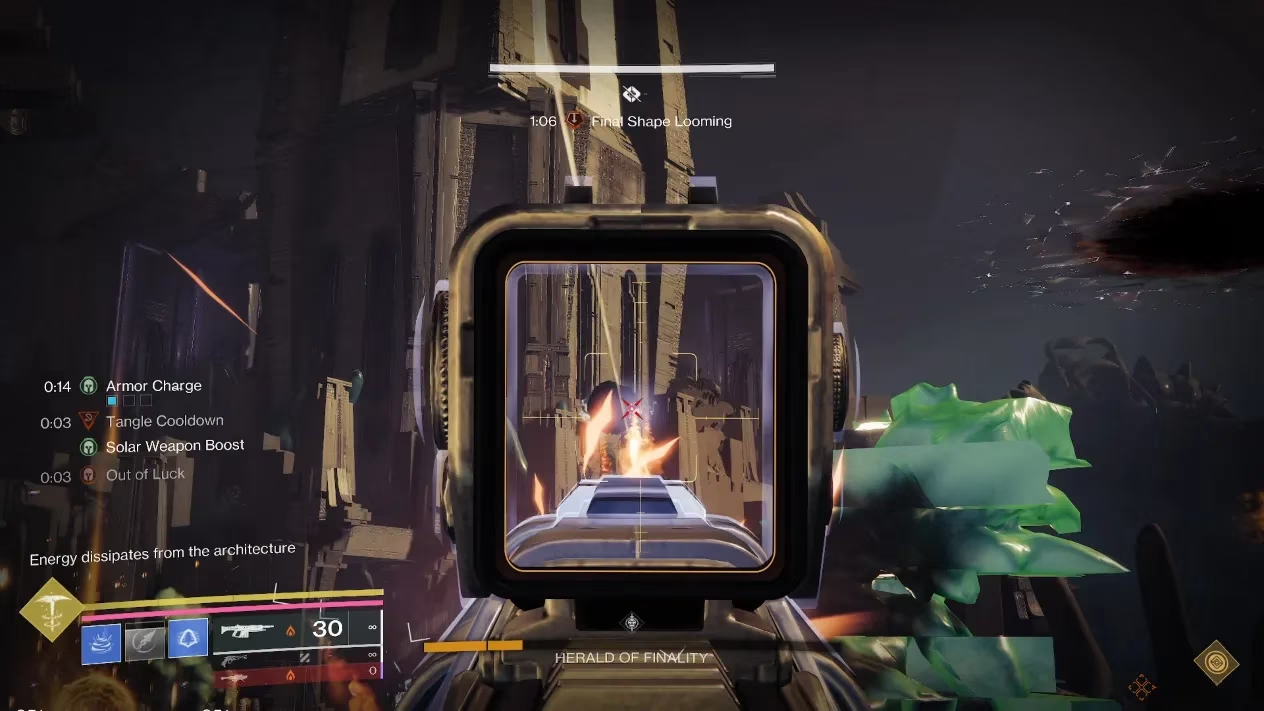
Dissipation: Call to Reckoning
This one adds a boss to the mix. Split into three pairs, one for each side of the arena. Kill the ultra on your side (Ogre, Wizard, or Knight) to empower your plate.
Here's the twist: three players get "Call to Reckoning." They jump into the pit to fight the Herald of Finality boss, damaging its head to gain "Stolen Favor." This buff lets them see which Resonance symbol (sphere or pyramid) their side's conductor needs.
My advice? Use the forced fail strategy. Juggle the plate signal twice, then intentionally let the third signal fail. It spawns an ultra as punishment, but you get all your Resonance without the hassle. Meanwhile, your reckoners are in the pit figuring out the symbols. Grab the matching Resonance, charge your conductor, dunk it in the chest above the boss, and then burn the Herald during the DPS phase. Swords are your best friend here.
Repository: The Shuffling Game
Think Substratum, but with more Tormentors and Unstoppable Champions. Gear up accordingly. Split into three pairs again. At the start, conductor players must get the killing blow on their lane's Tormentor. This lets them read their conductor's required symbol (cube, pyramid, or sphere).
Same plate-juggling and forced-fail strategy applies. Spawn Resonance, grab your matching type (conductors first!), lock the conductors, dunk, and move to the next room. The catch? The plate routes shuffle each room.
-
Room 2: Left and middle lanes swap partners.
-
Room 3: Everything shifts right by one lane (Left Plate → Middle Conductor, etc.).
Keep your head on a swivel and communicate those swaps!
Verity: The 3D Shape Puzzle (It's Not That Bad, I Promise!)
Okay, deep breath. Everyone says this is the hardest encounter in Destiny history. It's... a lot, but it's manageable if you break it down. You are trying to rescue three solo players by creating 3D shapes for them.
First, make sure your Guardian looks distinct. Fashion matters here! You need to recognize each other's statues.
When it starts, three players get teleported away (solo team). The other three stay (dissection team). Everyone looks at the statues at the front. Solo players see 2D shapes (Square, Circle, Triangle). The dissection team sees 3D shapes (Prism, Cone, Cylinder, etc.).
Solo Player Job:
-
Kill Knights to get the 2D shape shown on your wall.
-
Dunk that shape at the statues of the other solo players (not your own).
-
Kill Knights again, get the same shape, dunk it at both other statues.
-
Kill Knights a final time, pick up BOTH symbols that drop, and hold them. Do NOT dunk. Wait for the dissection team to finish.
Dissection Team Job:
-
Also kill Knights for 2D shapes.
-
"Dissect" a statue by interacting with it while holding a shape. Do this to two different statues to swap their 2D components.
-
Keep swapping until each statue's 3D shape does NOT contain the 2D shape its corresponding solo player started with. For example, if a solo player started with a Triangle (T), their statue must end up with a shape like a Cylinder (Circle+Square, or CS) that has no Triangle in it.
Sometimes, the Witness petrifies solo players. Their Ghosts appear in the main room. Solo players, use your inspection camera to see which pedestal at the back shows a frozen ally. Dissection players grab the Ghosts and dunk them at the correct pedestal (label them 1-6 for easy callouts).
It's a logic puzzle. Write things down. You'll get it.
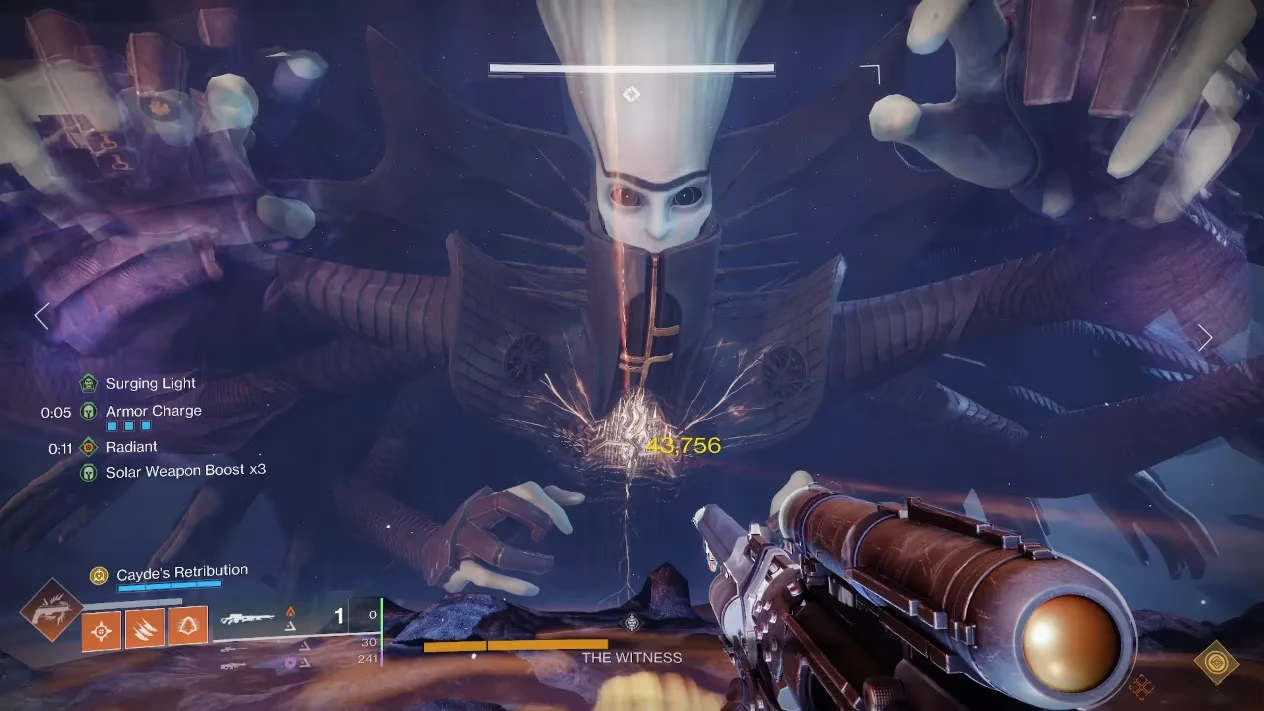
Zenith: The Final Showdown with the Witness
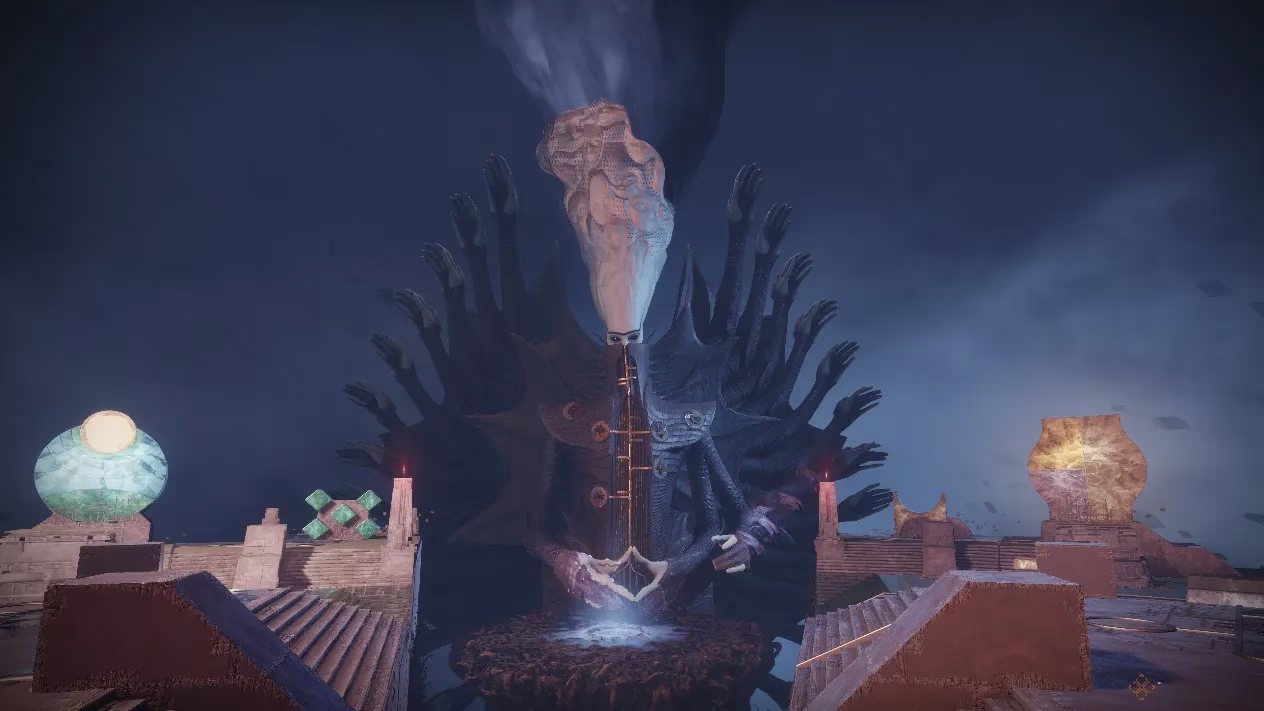
The big finale! No more 3D shapes, just you, the Witness, and its annoying hands. Equip mid-range precision weapons—Snipers or Linear Fusion Rifles are king here.
Assign three players to handle the Witness's hand attacks:
-
Lasers: Three hands that shoot a beam.
-
Pyramid: Hands that create a delayed explosive zone.
-
Bees: Hands that sprout from the ground and launch Darkness shards.
Your goal is to break the six "buttons" (Glyphs) on the Witness's chest. To do that, you need the Glyphbreaker buff.
-
Stand in the telegraph for your assigned hand attack and shoot the bracelet on the hand. It reveals a color (Red, Green, Yellow).
-
That color tells you which Resonance you need: Red=Lasers (Hexahedron), Green=Pyramid (Pyramidal), Yellow=Bees (Spherical).
-
Go stand in the telegraph of the matching hand type to get that Resonance buff.
-
Return to your original hand, step in its telegraph briefly, and break the bracelet. Congrats, you now have Glyphbreaker!
-
Go to the pool of Light and break one of the Glyphs on the Witness's chest. This cleanses your Resonance stacks.
Rinse and repeat for all six Glyphs. Watch out for "The Witness Tests You..." This is a wipe mechanic. You must shoot the floating objects to create a shape based on the last hand broken:
-
Lasers: Make a Square.
-
Bees: Make a Diamond.
-
Pyramid: Make a Triangle.
Do it right, you'll see "The Witness' trap is foiled." When its eyes flash yellow, JUMP to avoid the wipe attack.
Once all Glyphs are broken, it's DPS time! The pool of Light rises. The Witness will attack alternating halves of the platform. Dodge, deal damage, and watch for the wipe attack audio/visual cue. After three attack strings, it'll slam the ground—get off the plate! Burn it down, survive the final stand (it's faster now!), and claim your victory.
And that's it, Guardian. You've conquered Salvation's Edge. The loot is yours, the stories are legendary, and the Witness awaits its final judgment in Excision. Now get out there and finish the fight!